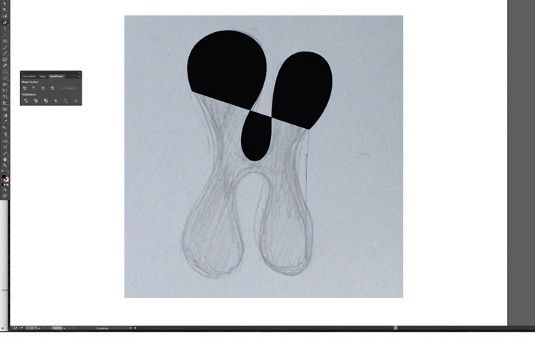
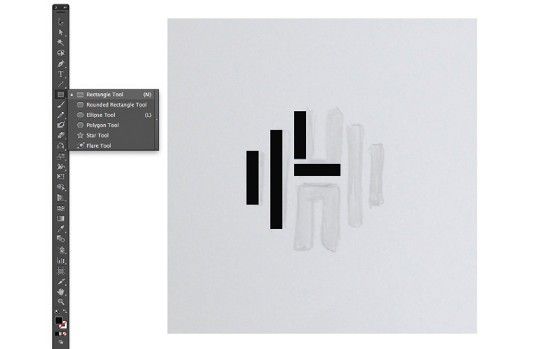
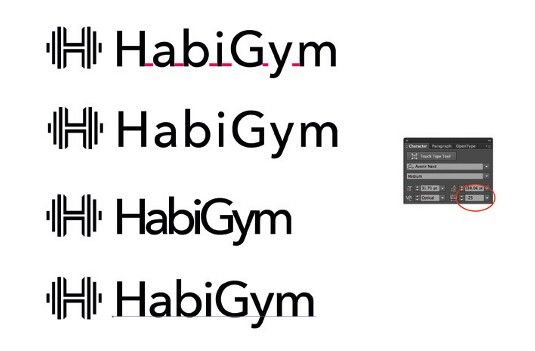
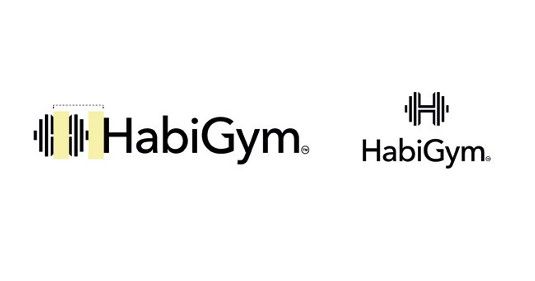
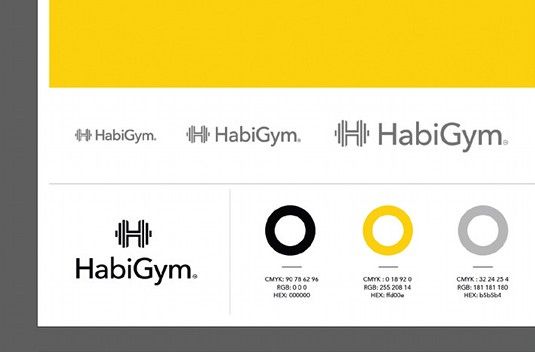
This tutorial will walk you through the core stages of creating a new identity for the ultra-modern HabiGym. I'll show you how this identity was conceived, explaining each stage of the process from when the ideas were born through to the final presentation. As well as demonstrating some of the essential tools and skills that you can learn to help streamline your workflow in Illustrator, I'll also share a few best-practice rules of thumbs for working smarter.
-

Color in web design: all you need to know
The success of any piece of visual communication depends on colour. Research into the impact of colour in marketing tells us that it takes the average person just 90 seconds
-

4 Tips for boosting sales of your designs online
If you've been hard at work in your spare time creating stunning paper art or impressive poster designs, selling your merchandise online can be a quick way to...
-
Classic Rubik's Cube gets a high-tech twist
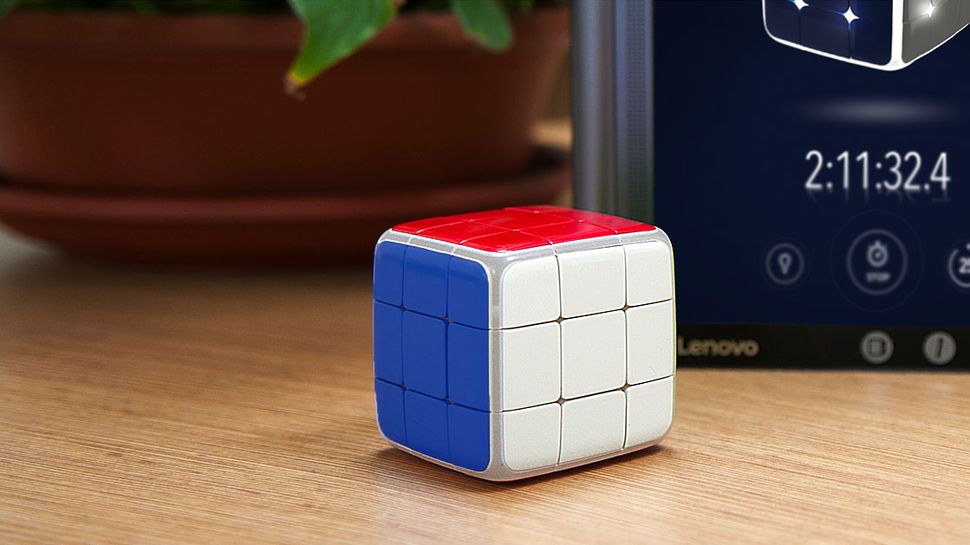
Originally designed in 1974 and launched internationally in 1980, Rubik's Cube is a design classic that's sold by the hundreds of millions. Over the years, it...
-

5 Quick-fire portfolio tips from design experts
Your design portfolio is one of your most useful tools. It can win you commissions, help you snag a new design job, attract collaborators, and get your work in...
-
Get started with editorial design
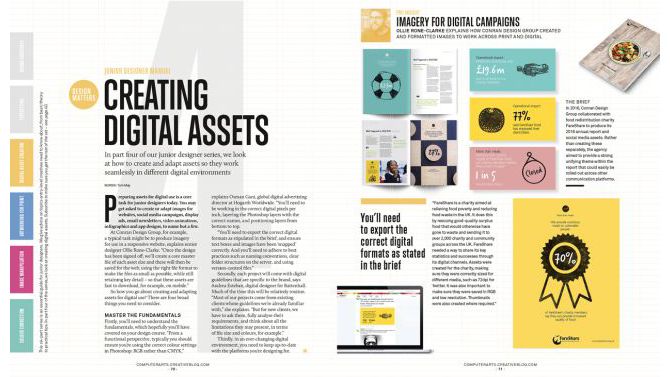
Editorial design can be a daunting task for someone who isn’t used to formatting large amounts of text. The skills you'll need are different to those of...
Design a killer logo in Illustrator
This tutorial will walk you through the core stages of creating a new identity for the ultra-modern HabiGym. I'll show you how this identity was conceived, explaining each stage of the process from when the ideas were born through to the final presentation. As well as demonstrating some of the essential tools and skills that you can learn to help streamline your workflow in Illustrator, I'll also share a few best-practice rules of thumbs for working smarter.
Launch your web dev career with this expert bundle
You'll learn how to work with the most important languages in web development, including front-end development standards such as HTML, CSS, JavaScript, and jQuery. There are eight courses in this bundle with over 122 hours of content that will get you up to speed in no time.
The eight courses are:
- The Full Stack Web Development Course (Handle Every Facet of An App's Development)
- Projects In ReactJS: The Complete React Learning Course
- Projects in JavaScript & JQuery
- ReactJS and Flux: Learn By Building 10 Projects
- Projects in MongoDB: Learn MongoDB Building 10 Projects
- Projects Using PHP Frameworks
- Learn NodeJS by Building 10 Projects
- Projects in HTML5
You can get the Full Stack Web Development Bundle on sale right now for a price you pick. Beat the average to unlock all the courses, get on the leaderboard, or just pay what you want. You can't go wrong, so grab it today.
Beware the cutting edge of web design
People are championing the new approaches that are about to change the way we work once again, such as Flexbox and CSS Grid. Rachel Andrew and Jen Simmons have been encouraging developers to look at these technologies now, in readiness for their arrival.
Although they make a good argument, I don't think there has been a time where there has been more choice (or opinion) about how to build digital projects. We are long past 'HTML, CSS and a little JavaScript'. Now there are CSS preprocessors and JS frameworks, and the components that make up a web project encompass a load of new elements – optimisation, CDN delivery and SEO, to name a few.
Pioneering web tech
The talks and conferences advocate best practices and cutting-edge tech – why we should be using X, Y and Z. This is 100 per cent necessary. After all, the web industry is relatively young and we are still defining the standards of the industry to an extent.The problem is, those not using these technologies day-to-day in their work can be left feeling inadequate or somehow lacking. It is a lucky few who get to make their living pushing those boundaries and telling us all about them. Don't get me wrong, it is essential to have these people pushing the bleeding edge, but it can result in an urge to jump into new methods too early, which can be the worst thing to do on live client work.
You want long, productive relationships with clients. Changing how you build sites means having to readjust and remember more skills. As much as good commenting and a README file will help, you need to make sure what you're delivering will remain effective and usable for as long as possible.
Educating junior web developers
Many junior developers have a real thirst for knowledge. It is often an inspiration to more senior team members when they arrive in the studio, eager to show a new method or technique that is emerging and explore how it might be used on a project.You want your staff to grow, to develop and to be able to work on things together, so again it's important to make sure that you're only taking on board advancements that are an improvement on what went before. But when the churn of technology is so quick that we have interns and junior designers who have never had to use a float and do not know life before Bootstrap, it becomes a real balancing act.
A good example of this is the move from LESS to SCSS and also from Grunt to Gulp. Both these technologies are similar, but different enough to mean returning to a project using LESS/Grunt becomes an exercise in re-learning – or in the case of juniors or interns, learning a new (old) technology from scratch.
Website layout gambles
Flex and CSS Grids are the current darlings of frontend talk. CSS Grid has the potential to revolutionise the way we will lay websites out in the future. At the moment it is still hidden in the latest browsers, although you can access it if you enable experimental features on the likes of Chrome. We can't use it in live work for this reason, though with an imminent launch date, Grid could bring about as big a shift in web development practice as the shift from tables to divs and floats.We are using Flexbox on live work now, but only in ways that are a benefit – for example for ordering content in responsive layouts or vertically centring items. To try to use Flexbox for a full site at the moment, with iOS and Safari's flaky support, would be a challenge that just may not be financially viable.
Embracing the old browsers
Clients, especially within larger companies, likely won't be running the latest browsers. They could also have restrictions on their web access that could affect your build. And if it turns out the main stakeholder is using IE on an old laptop, the site better work on it or the project just won't get signed off.Sometimes a client will have a good idea of what they want, or specify an incumbent system or technology that you need to work with. A key point for us as an agency is to be adaptive to these needs and to work with them, rather than dismissing what the client has and trying to force them down the route we would prefer. Sometimes this may mean having to extend an existing codebase in order to keep within the technology required.
Although you can make workarounds and shims, there often isn't budget to do this. And when a client doesn't have the right resources then you need to go with the solution that will please everyone.
When it comes down to it, the main aim of the studio is to produce great, forward-thinking work, which means being fully open to new methods but also picking the right time and project to use them. It is a tricky balancing act, but one that gives me a great feeling of satisfaction, especially when a new process finally becomes 'the standard' on live projects.
Are you prepared for life after jQuery?
It also hid much of the complexity of dealing with that era of browsers from us. Through painstaking fixes, all of the various bugs that those browsers included were worked around, until you could be confident that if something was done with jQuery, it would work.
But things have moved on since then. jQuery thrived in a time when browsers were broken and slow to change, but that itself is changing.
Since IE8, browsers have included the document.querySelector method, which gives us all jQuery's killer features right out of the box. IE9 gave us addEventListener, freeing us from onclick and onmouseover. In IE10, JavaScript programmers were granted the classList object, enabling us to add and remove classes without tricky string manipulation.
And this is without touching on all of the amazing things that CSS can do without any JavaScript at all. CSS is finally getting powerful enough to truly facilitate the separation of the JavaScript logic from its presentation. In modern browsers, classes can represent the state things are in and the CSS can define what that means visually – but you can't do that if your code is littered with calls to .hide().
And beyond all that, there are new, powerful APIs that you can't access through jQuery on its own: things like the new MutationObserver and WebRTC require you to talk to the browser itself. And, it turns out, that's not all that bad.
Use it: don't depend on it
We may not need jQuery any more, but what's the harm in using it if it makes your job easier? There isn't any! Keep using jQuery to build your sites and apps. But if you're building a library, consider not making it into a dependency.Why? Because jQuery is a big, monolithic library. It includes Ajax, DOM manipulation and selection, events, promises, effects and a whole bunch of utilities. Having all of this in a single package locks us all into the jQuery way of doing things – which is also the 10-year-old way of doing things.
Alternative solutions
So what can we use instead? Q does brilliant things with chaining promises and exception-handling. CSS animations are much smoother than anything you could do with JavaScript. Soon, custom elements are going to provide the best possible way of building reusable components. If we live in a world where you can pick and choose which DOM manipulation library you want, or whether you want to use RSVP.js or Q for promises, we can end up with better open-source solutions to all of these problems.Beyond all this, the jQuery plug-in style puts every library you include in the same, ever-growing namespace. Everything is $(el).colorPicker(), or $(el).chosen(). This doesn't play nicely with a future in which we have real modules. Modules will enable us to cleanly seperate our dependencies, and create optimised builds more easily. Whether you use Browserify, RequireJS or the modules added with ECMAScript 6, it's the future. A single, global namespace isn't.
So how do we reach this brave new world? The first step is for all the libraries we need to release their death grip on jQuery. If they become dependency-free, we can begin to imagine building a modern web app without it.
There is one important caveat: if you're targeting older browsers, including IE6 and 7 or Android 2.3, you aren't ready for this brave new world just yet. Enjoy jQuery to its limits and dream of a future when you can finally speak the browser's language.
How to use an HTML boilerplate: A guide
Typically, site designers and developers want to deal with the quirks of individual browsers, stripping out any proprietary styling that such software might add to specific website layout elements. Additionally, they may use scripts to deal with the shortcomings of older browsers and drop in basic default styles for horizontal rules and elements that are supposed to be hidden.
What is an HTML boilerplate?
Boilerplates are similar to templates, but more helpful, in that they often contain text and graphics to start you off rather than just layouts that include these elements. An HTML boilerplate is a set of downloadable files that provide a foundation for any website you might want to create. Typically, they have been built by industry professionals but freely released to the community. Adapting them for your own projects helps speed things up and ensure the basics of your site are sound.Note that the term 'HTML boilerplate' doesn't mean you just get an HTML document or even a bunch of them. Boilerplates may contain a range of file types, including HTML documents, but also add CSS, JavaScript, placeholder images, and documentation on how to use what you've just downloaded.
Popular boilerplates
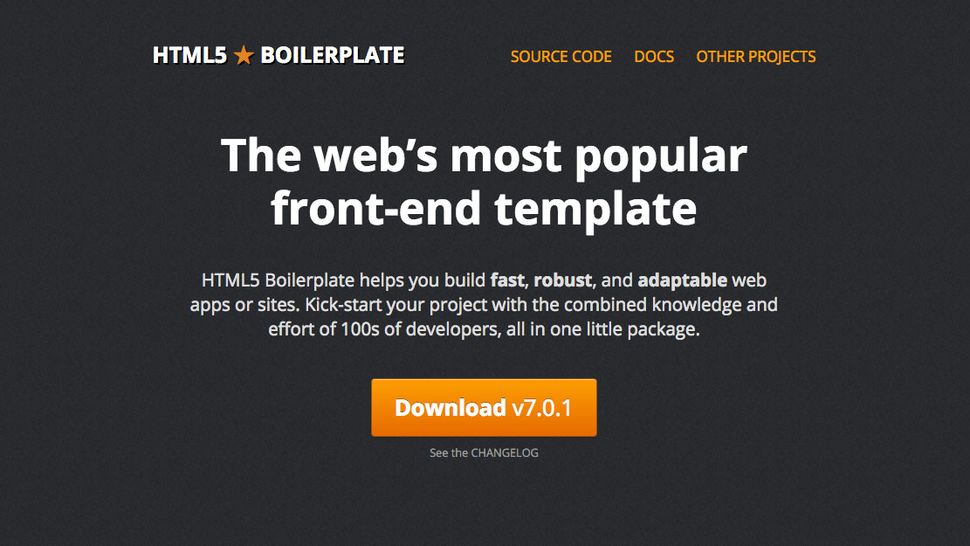
HTML5 Boilerplate is a good place to start. The self-described "web's most popular frontend template", is a sleek and simple HTML5 template that's the result of the pooled knowledge of hundreds of developers. It provides the basic scaffolding or framework for building an entire website.We're on version 7 at the moment, but you can get a gist of how this works by watching the introductory video designed for v5. The latest version is mobile-friendly, with an optimised Google Analytics snippet and minified versions of jQuery and Modernizr included.
Another popular option to explore is Bootstrap. This calls itself a 'frontend component library', and offers more comprehensive options than the HTML5 Boilerplate framework. Some argue that the industry's reliance on Bootstrap has led to increasing homogeneity in web design over recent years.
Whether you opt for a simple HTML5 boilerplate, or something that offers more control, will depend on your level of ability, confidence and needs.
Using HTML5 Boilerplate
When downloaded, this free, open-source boilerplate provides you with documentation and licensing information, some CSS, placeholder images in various aspect ratios, two HTML files, some JavaScript, and some server config files.For your new site, first replace the favicon.ico and icon.png files with your logo – these will appear as your site's favicon and the icon when your site is saved to someone's iOS homescreen. An online generator can help you create new images.
In the HTML, there might be some things that you're not familiar with. The majority of these additions deal with issues relating to legacy browsers. The final script element is for Google Analytics and can be removed entirely if you don't use that. Leave the other script elements that are found towards the end of the file, because they load jQuery.
Add content to the body of the document after the 'Add your site or application content here' comment. You'll also need to give the page a title and fill the 'content' value in the 'description' meta tag.
Note also that all links are relative in this document, and so you may need to change them to root-relative or absolute links if you start nesting web pages in folders.
You can add comments if you make any major changes to the HTML, to remind yourself later.
CSS edits
Of the two CSS documents included with HTML5 Boilerplate, there's no need to touch normalize.css. This is the reset document that ensures all browsers start on a level playing field when it comes to your website. By contrast, main.cssincludes what the document terms "opinionated defaults", including some basic styles for selections, horizontal rules, images, and forms, helpers for item visibility, and @media rules for responsive web design and print.Whatever your choice, be mindful of how you'll deal with subsequent updates to HTML5 Boilerplate itself. If you edit any of the default main.css styles, changes made in future versions of HTML5 Boilerplate (which would either be added by replacing files, or replacing parts of files) won't necessarily come across to your site, or will override your own edits. Therefore, again make use of comments for any changes, thereby making later comparisons much easier.
Advanced boilerplates
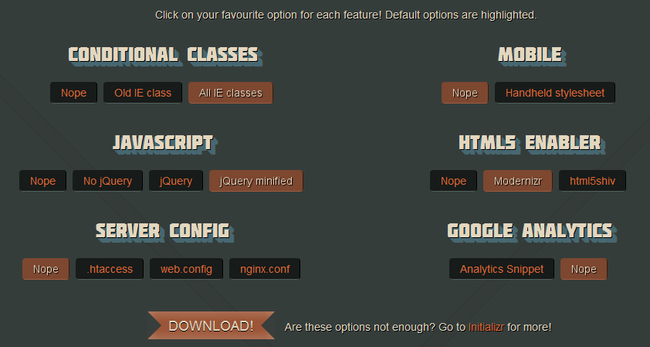
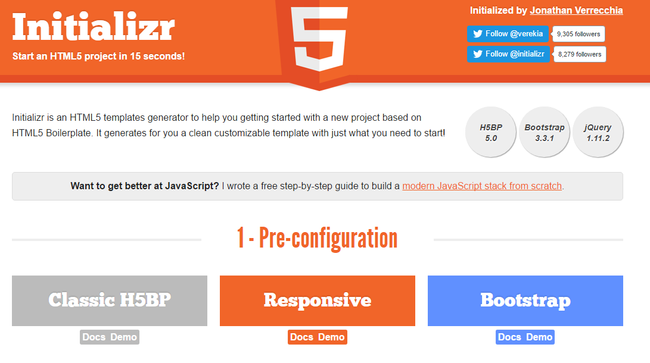
Once you gain experience, it's worth considering a custom build using Initializr, retaining the components you need and ditching those you don't. Also, if you're creating a WordPress site, explore a WordPress-specific blank theme, such as HTML5 Blank.4 Amazing design concepts we wish were real
We know there are graphic design portfolios out there simply bulging with bright ideas and in this post you’ll get to read about five design concepts we really wish had come to fruition. In fact, we’re hoping some of them still will.
01. Oceanix Floating City
02. Bookmarks rack
03. The New Public Convenience: Hull's Bath House and Lady Garden
In this dream public toilet, organic cotton tampons are recycled into compost to fertilize the plants. The composting process would also be used to heat up water for the building, with filters siphoning off wastewater for plants. These plants would be cultivated to produce essential oils for soap-making which can then be sold, with profits being reinvested into the building. Pearn’s design bagged her the AJ Student Prize in 2018 and the applause of plenty of women. We’re booking a one-way ticket to Hull with a pair of white trousers forthwith.
04. Circle Life
Devised by Taiwanese designers Chia-Yu Yeh and Yi-Xiang Lin, Circle Life is a sleek, wearable device for people with diabetes. The smart wristband integrates insulin patches with micro-needles and a non-invasive blood glucose sensor, allowing patients to monitor and manage their health on the go while reducing the need for (and pain from) injections.The data gathered by the wristband is uploaded to the cloud, where it can be accessed by medical professionals or family members. Its charging stand also functions as a box to store insulin patches. The concept won the Red Dot Best of the Best award in 2016 and it’s not hard to see why. There are currently over 400 million diabetes sufferers worldwide, so we think this simple design deserves to be in on the world’s wrists pronto.
The best memory cards for your camera
Luckily, perhaps, physical formats of memory cards don’t change all that often – postage stamp-sized Secure Digital (SD) cards have been with us for most of the past two decades, in turn spawning the microSD variant still used by most smartphones and tablets.
How to choose the best memory card
Obviously, you’ll have a budget in mind and will also want to go for the highest capacity card with the quickest read and write speeds you can afford. The advice here used to be to opt for several cards rather than one giant capacity option, in case the latter became corrupted in some way and images lost. But, in truth, such occurrences are rare, especially these days. If you do go for a one-size-fits-all high capacity card, you’ll obviously be paying more money for more memory, but it may be worth it in the long run.Another recent development is toughened memory cards for power users. Examples include the aptly named Sony Tough, an SDXC format card that’s dust-proof, waterproof, can resist pressures up to 16kg – as well as being super-fast.
Your own particular needs may be very different though, so we’ve chosen a variety of memory cards to suit differing requirements – and budgets! Read on to find the best camera memory card for you…
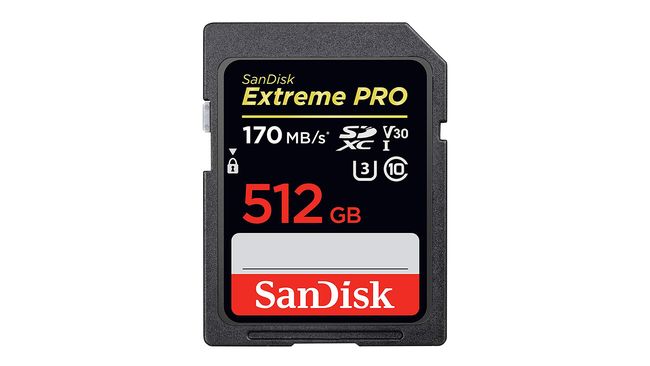
01. SanDisk Extreme PRO SD UHS-I
The best all-around SD memory cardCard type: SDXC | Capacity: Up to 512GB | Read Speed: Up to 90MB/s | Write Speed: Up to 95MB/s | Warranty: Lifetime limited warranty | Suitable for: Both photography and/or video (including 4K)
Power users are advised to check out the Extreme PRO SDXC card from long-standing card manufacturer SanDisk. Available in capacities from 32GB up to an impressive 512GB, this option offers a speed class 3 rating.
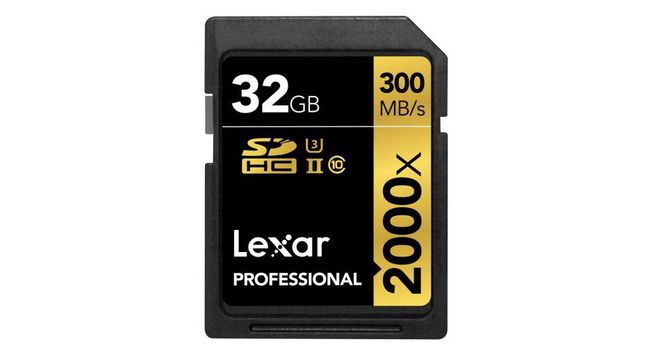
02. Lexar Professional Class 10 UHS-II 2000X Speed
The best SD card for professional photographersCard type: SDHC and/or SDXC | Capacity: Up to 128GB | Read Speed: Up to 300MB/s | Write Speed: Up to 260MB/s | Warranty: Lifetime limited warranty | Suitable for: Both photography and video (including 4K)
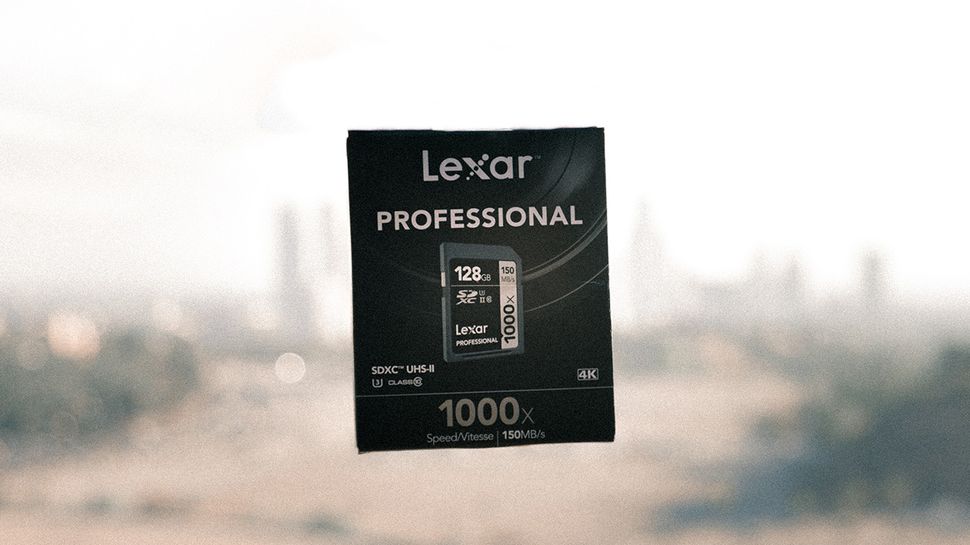
Lexar has long been the go-to card for photography enthusiasts and professional shooters, and, despite disappearing from the market for a little while, it has bounced back with plenty of Lexar options still available. A solid choice for us is the Lexar Professional 16GB Class 10 UHS-II 1000x Speed, which deploys UHS-II tech to enable transfer speeds up to 300 MB/s and write speeds up to 260 MB/s.
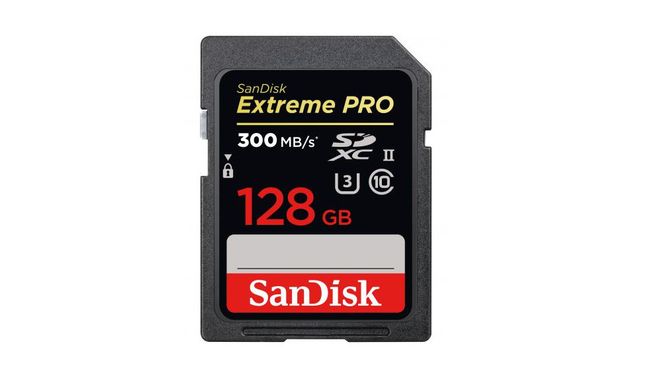
03. SanDisk Extreme PRO SD UHS-II
An even faster card than the UHS-I Pro versionCard type: SDXC | Capacity: Up to 128GB | Read Speed: Up to 300MB/s | Write Speed: Up to 260MB/s | Warranty: Lifetime limited warranty | Suitable for Pros wanting to shoot swift bursts of high res stills and video
Missing that essential shot if you’re working as a pro photographer can be an expensive mistake, and is especially irritating if it’s because your card can’t keep up. Try and avoid the latter ever happening by investing in this ultra-speedy, inevitably costlier, the example from industry stalwart SanDisk – the SanDisk Extreme PRO SD UHS-II. In offering read speeds of up to 300 MB/s and write speeds of an equally impressive 260 MB/s, it's a class leader among memory cards.
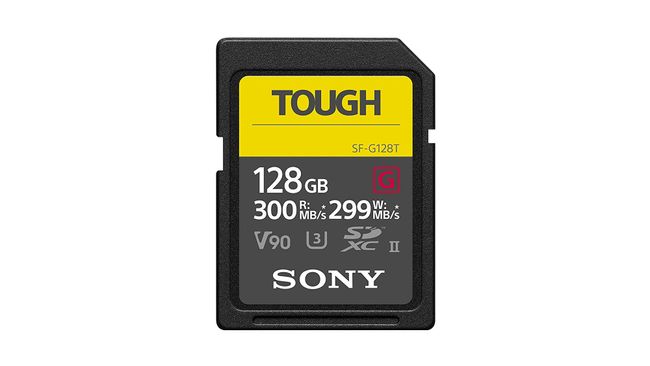
04. Sony SF-G Tough SDXC
A super-robust new breed of memory cardCard type: SDXC | Capacity: Up to 128GB | Read Speed: Up to 300 MB/s | Write Speed: Up to 299 MB/s | Warranty: Manufacturer’s | Suitable for: High-speed burst photography and video (including 4K)
The bigger the card’s data capacity, the higher the potential worry of losing hundreds, possibly thousands of precious image files should anything untoward happen. Purporting to eliminate some of that stress is the Sony Tough range, supplied in common-use SD format. While arguably no card can claim to be 100% destruction–proof, there come with the boast of being dustproof and waterproof, while possessing ‘bend proof’ strength into the bargain – namely being able to withstand 18KG of exerted pressure (that’s18x greater than standard SD).
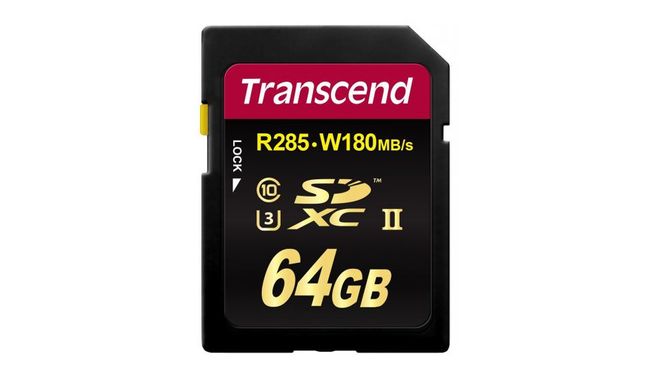
05. Transcend SDXC UHS-II U3
Great for shooting Raw files or high-resolution videoCard type: SDXC | Capacity: Up to 64GB | Read Speed: Up to 285MB/s | Write Speed: Up to 180MB/s | Warranty: Five-year limited warranty | Suitable for Pros shooting rapid fire high res Raw stills and high-quality 4K video
If it’s Raw files you primarily need to capture, then you’ll want a card that can cope with the highest quality imagery in sequential bursts – as well as one that provides a sufficient storage capacity to avoid having to swap out the media in use at that decisive moment.
Obviously, you will need UHS-II compatible DSLR or camcorder to be able to use this one – so check – but speeds of up to 3x faster than standard UHS-1 SD memory cards can be delivered. These Transcend branded cards are also shock and X-ray proof, thereby providing a degree of certainty for photo and video enthusiasts and pros.
Amazon Prime Day 2019: everything you need to know
When is Amazon Prime Day 2019?
Amazon still hasn’t confirmed the exact date for Prime Day 2019, but an accidental email from an Amazon PR appears to reveal that the event it will fall start on Tuesday 16 July. Despite the name, Amazon Prime Day isn't a 24-hour thing. Last year it lasted 36 hours, and we're expecting Prime Day 2019 to run for a full two days (48 hours).None of this has been confirmed by Amazon as yet so there's still a chance it could start a week earlier, and kick off on Tuesday 9 July 2019. Our money is on the 16 but as soon as we hear, either way, you'll be the first to know.
Will there be an Amazon Prime Day 2019 in Australia?
Yes. Amazon.com.au already has a holding page in place, and we’d expect Prime Day Australia to be a bigger event in 2019 than its 2018 debut. Last year Australian shoppers were only offered 340 deals, compared to 2,800 in the US, and the focus was very much on smart home and gaming devices. In 2019 we’d expect a wider range of products and many more offers.Amazon Prime Day 2019: laptops and computing
Prime Day can be a good day to get the laptop you’ve been promising yourself: last year there was a whopping 34% off the Microsoft Surface Pro 12.3”, with discounts of around 20% on other models. For example, Dell’s Inspiron 7000 17s dropped from $1,299 to a much more affordable $899. If convertibles are your kind of tool, you could get 33% off the Acer Chromebook R11 Convertible – or if you’d rather just have a dedicated tablet to scribble on, the Samsung Galaxy S3 tablet – which includes the useful S Pen – was 27% off.There were decent deals on a wide range of peripherals too: Logitech’s comfy MX Anywhere 2 AMZ was 60% off, down to £27.99 from the usual £69.99. Keep an eye out for discounted monitors too: while Amazon tends to focus on gaming monitors we saw decent discounts on more sober models too.
If you’ve been hanging on for an iPad Pro, don’t expect massive discounts on the newest ones – but keep your eyes peeled for deals on the outgoing model and for lightning deals on the current line-up. Last year Amazon briefly dropped the iPad 2018 model from £319 to £289. Not a huge saving, we know, but more than you can usually get off Apple kit.
Amazon Prime Day 2019: software and apps
Last year we saw 20% discounts on Adobe Creative Cloud subscriptions: the Creative Cloud Photography Plan, which includes Lightroom CC, Photoshop CC, Spark Premium, Adobe Portfolio and 20GB of cloud storage, was down to $95.95 / £79.99 for a year’s subscription. It’s currently back at full price, so fingers crossed for another deep discount on Prime Day 2019.Amazon Prime Day 2019: cameras
There were some massive discounts on high-end cameras on Prime Day last year. One of our favorites was 54% off the Sony A7 28-70mm OSS lens kit, which plummeted in price from £1,549 to £719. Elsewhere on Amazon, you could get $1,000 off a Sony A9, $740 off an A7 II and $300 off the Canon EOS M50. There were really good deals on bundles too: in one Canon EOS 80D bundle, you could get a combined discount of $750 across the camera, memory card and external mic.Amazon Prime Day 2019: stuff for your studio
Art supplies can be extremely pricey, so it was good to see deals such as 44% off the cost of a 120-pencil tin of Faber-Castell Polychromos color pencils. That brought the price down to just under £80 compared to the usual £144.Fancy some smart lighting to get you in the creative mood? Amazon went big on smart home deals last year, with 1/3 off Philips Hue kits and bulbs. And if you like to listen to music while you create you can expect big discounts on Amazon’s own Echo speakers as well as on Bluetooth speakers and headphones. If you travel a lot for work (or for pleasure!) or just need to tune out the ambient sound while you work we’d strongly recommend a set of noise-canceling headphones: they’re brilliant on trains and planes. Last year Amazon dropped the price of Bose noise-cancellers by $50 and JBL ones by a whopping $140.
How to get the best Amazon Prime Day 2019 deals
Sticking with us is a good strategy: we’ll spend the days up to and including Prime Day scouring Amazon for the best genuine deals for creatives.We’d also recommend doing your homework before the day itself, deciding on what you want and what you want to pay for it, and ignoring any deals that aren’t on your shopping list: a deal is hardly a bargain if it ends up gathering dust in a corner of your studio.
Beware stunt pricing, too. To see if a deal is really a good deal, we’d recommend using CamelCamelCamel.com to check its Amazon price history and PriceSpy.co.uk to see what other retailers are selling it for: while many deals are genuine, some sellers increase their prices just before big events so that the discounts appear to be much bigger than they actually are.
The best computer for video editing in 2019
If you're editing videos, you'll need a powerful computer so that it doesn’t lag when dragging audio and video clips, exporting, rendering and finalizing the mountain of footage that you’ll accumulate. This is especially true when working with high-definition video.
We’ve picked out some of the top Windows PC and Mac computers for video editing, with a focus on both some of the most powerful workstations on the market today, as well as some options if your budget is more limited. Read on for the best computers for video editing...
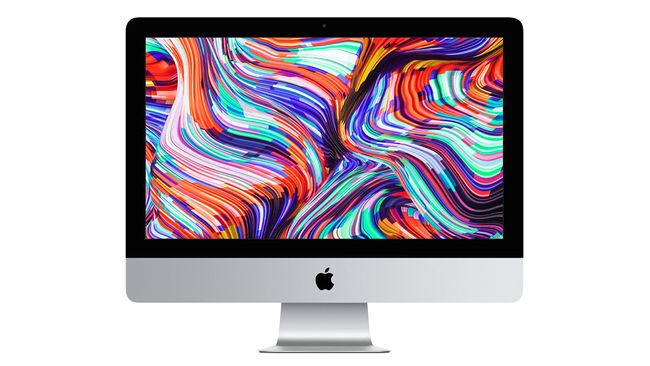
01. 21-inch Apple iMac with Retina display (2019)
The best computer for video editingCPU: 4-6 core Intel Core i3 / i5 / i7 | Screen: AMD Radeon Pro 555X / 560X / Vega 20 | Graphics: 8GB - 64GB | RAM: 8-64GB | Storage: Hard Disk / Fusion Drive / 256GB - 1TB SSD | Ports: 4x USB-C (Thunderbolt) , Ethernet | Size: 52.8cm (w) x 45.0cm (d) x 17.5cm (h) | Weight: 5.66kg | OS: MacOS
We think the best computer for video editing right now is the 21-inch Apple iMac with 4K Retina display (2019). Now sporting six and eight-core 9th-generation Intel processors, the 2019 iMac has received the most significant update since Apple added a Retina display to the specification, making it a video editing powerhouse.
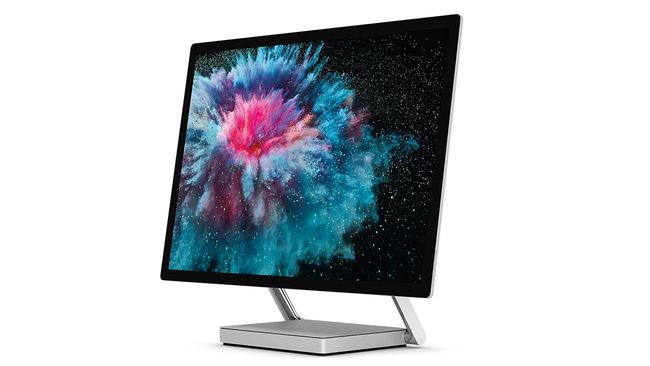
02. Microsoft Surface Studio 2
A brilliant Windows all-in-oneCPU: Intel Core i7-7820HQ | Screen: 28-inch 4500x1300 resolution IPS display | Graphics: Nvidia GeForce GTX 1060 6GB -GTX 1070 8GB | RAM: 16-32GB | Storage: 1-2TB SSD | Ports: 4xUSB 3.0; 1xUSB-C; SD card slot; Gigabit Ethernet; 3.5mm headphone jack | Size: 63.7cm x 1.3cm x 43.9cm x 1.3cm (WxDxH) | Weight: 9.56kg | OS: Windows 10
Unlike Apple’s iMac all-in-one, a touch-sensitive 28-inch display (4,500 x 3,000) display is the centerpiece of Microsoft’s Surface Studio 2, letting you drag and drop video clips with a finger as well as a mouse. It comes with a hinge that lets you flip the screen all the way down to edit video and it can be used with a pen for drawing too.
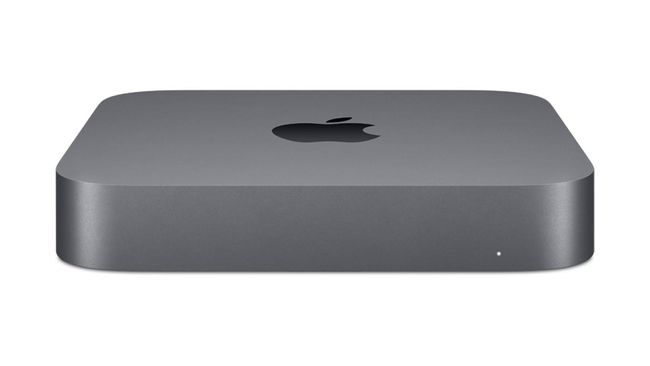
03. Mac Mini (2018)
Powerful, small and great for video editingCPU: 4-6 core Intel Core i3 / i5 / i7 | Screen: Not included | Graphics: Intel UHD Graphics 630 | RAM: 8-64GB | Storage: 128GB-2TB SSD | Ports: 4x USB-C (Thunderbolt) , 2x USB 3, Ethernet, HDMI | Size: 19.7cm (w) x 19.7cm (d) x 3.6cm (h) | Weight: 1.3kg | OS: MacOS
We love the Mac Mini’s flexibility and diminutive form factor, so we’re really pleased to see Apple updated it with a modern specification and a new 'space grey' color late last year. It is still one of Apple’s most affordable computers (relatively speaking) and now it’s capable of a lot more, including video editing. Pair it with one of the best monitors for video editing for a great setup.
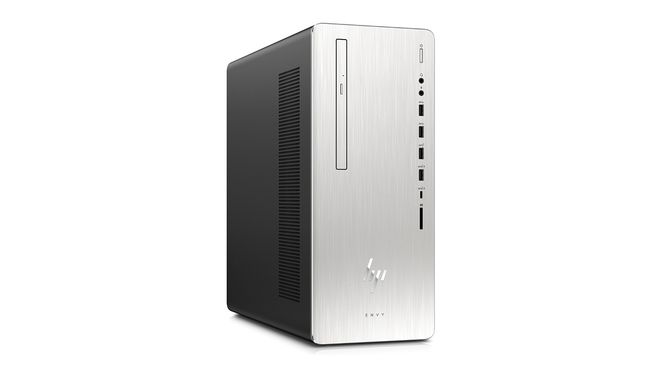
04. HP ENVY 795
HP’s slick micro-desktop has the guts to edit videoCPU: 3.5 GHz six-core Intel Core i7 - 3.3GHz 10-core Intel Core i9 | RAM: 8GB - 64GB | Ports: 6 x USB 3, 1x USB-C, 2x USB 2, DVI, HDMI Ethernet, SDXC | Size: 37cm (w) x 15.4cm (d) x 36.5 (h) | Weight: 8.86kg | OS: Windows 10
With an 8th-generation Intel processor, HP’s silver-fronted Envy desktop PC is a box with more than a few tricks up its sleeve. The range is absolutely great for mid-range video editing, as the Nvidia GeForce graphics card can help out with various processing tasks, such as applying visual filter effects, while the main six-core CPU does much of the hard work.
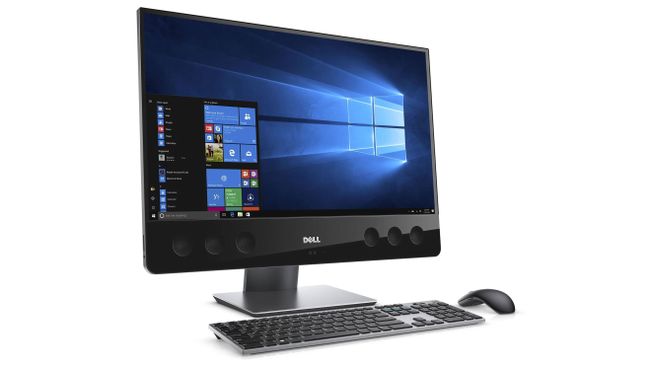
05. Dell XPS 27 AIO
A powerful all-in-one PC for video editingCPU: Intel Core i5-7400 – Core i7-7700 | Graphics: Intel HD Graphics 630; AMD Radeon RX 570 | RAM: 8GB – 32GB | Storage: 1TB HDD – 2TB SSHD; 512GB SSD | Display: 27-inch 4K (3,840 x 2,160) display.
The best home design software in 2019
Home design software is designed to enable anyone to plan their own home or workspace without having to study to become an architect. They should be easy to use, with a clear and concise interface that gives you all the tools you need to design the perfect studio for your creative work. You can then export your plans to give to architects and builders – who will turn your designs into reality.
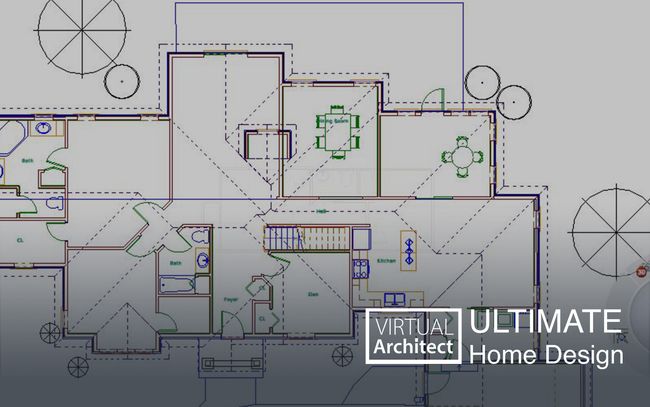
01. Virtual Architect Ultimate Home Design
The best overall home design softwareFeatures: Digital interior design, surface design, kitchen build wizard | Operating system: Windows 10, 8, 7, Vista
02. TurboFloor Plan Home & Landscape Deluxe
The best value home design softwareFeatures: QuickStart feature, Floor Plan Trace, Training Center with 100+ videos | Operating system: Windows 10, 8, 7
TurboFloor Plan Home & Landscape Deluxe is our pick for the best value home design software due to the fact that it is almost half the price of the other entries in this best home design software list, yet it still comes with almost all of the features its more expensive competitors offer.
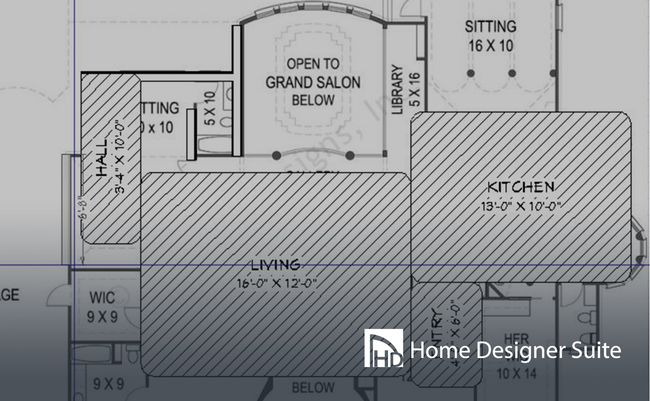
03. Home Designer Suite by Chief Architect
The best home design software for MacsFeatures: Automated building tools, smart objects, 3D models and rendering | Operating system: Windows 10, 8, 7, macOS High Sierra, Mojave
Macs are very popular with digital creatives, however, they don't have the same breadth of choice when it comes to home design software. If you use a Mac, it means you're limited to only a few software suites – and Home Designer Suite by Chief Architect is by far the best.
04. DreamPlan
The best home design software for small projects and studiosFeatures: A3D, 2D and blueprint views, landscape and garden design, interior and room design | Operating system: Windows 10, 8, 7, Vista, XP, Mac OS X 10.5 and above
If you're just designing a small project, then you don't want to spend a fortune on a complex suite of design applications that include features you'll never use – which is why DreamPlan is an excellent choice.
The best free home design software
If you think the tools in our main list of the best home design software are all overkill for your needs, we'd like to highlight our pick for the best free home design software: RoomSketcher Home Designer. This is the perfect home design application for people who just want to dip their toes into the home design waters and test out the software before spending any money.It's basic, but it does the job and allows you to make a quick and easy floor plan with windows, walls, stairs, and doors. You can also add objects to get an idea of how the building your designing will look.
The best Web hosting services in 2019
We've considered a range of situations here. Whether you're a freelancer looking for a website on a budget and just need shared web hosting, if you're after more flexible VPS hosting, or are a bigger operation that needs all the bells and whistles that dedicated servers provide, there's a service here for you. If you're not sure which is the best level for you right now (or for where you want to be in the future) – you’ll find a detailed explanation of the different tiers at the bottom of this guide.
Or read on for our pick of the best web hosting services, no matter the size of your website or budget.
01. InMotion Hosting
The best overall shared web hostingDomains: 1 | Number of sites: 2-unlimited | Bandwidth: Unlimited | SSL: Included | Email addresses: Unlimited
InMotion offers both cPanel and Softaculous-powered hosting. In testing, InMotion’s overall performance levels ranked well above average. That’s great news for anyone who wants to see fast-loading websites (which is all of us, let's face it).
02. Bluehost
The number one preferred partner of WordPressDomains: 1 | Number of sites: 1-unlimited | Bandwidth: Unmetered | SSL: Included | Email addresses: 5-unlimited
Bluehost also gives you a free domain and provides a free Weebly-based website builder to create a site up to six pages, although website templates aren’t included. And bear in mind that none of the plans include SSL, but certificates are available as an add-on.
03. HostGator web hosting
The best cheap web hosting option out thereDomains: 1-unlimited | Number of sites: Not specified | Bandwidth: Unmetered | SSL: Included | Email addresses: Unlimited
When it comes to cheap web hosting, HostGator’s Hatchling plan is our top choice. The well-known Dallas-based company offers an impressive amount of unrestricted features in its basic Hatchling plan: there are no limits on bandwidth, web space, subdomains, MySQL databases, FTP and email accounts.
As you might expect with a cheap hosting plan, you can only operate one website on the Hatchling plan. And you won’t get a free domain name for a year, either. But we like the super-low pricing and the free transfers for new accounts within the first month after you’ve signed up. A 45-day money-back guarantee means that if you’re not happy with the service, you can cancel it.
04. GoDaddy
A good all-around service that's well-known, respected and trustedDomains: 1-unlimited | Number of sites: 1-unlimited | Bandwidth: Unmetered | SSL: Higher plans only | Email addresses: 1, for the first year.
05. tsoHost
The best UK-based shared hosting serviceDomains: 1 | Number of sites: 3-20 | Bandwidth: Unlimited | SSL: Included | Email addresses: 100-unlimited
8 Of the best free logo design tools
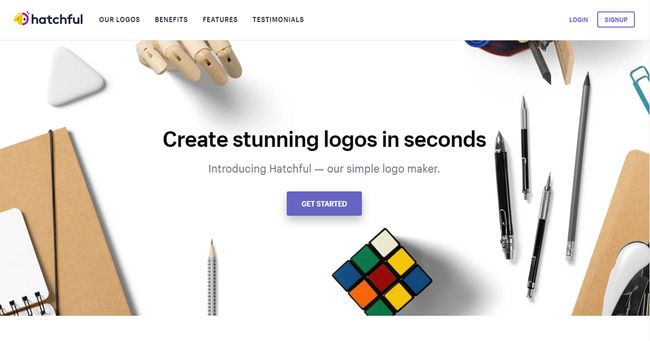
01. Hatchful
02. Ucraft Logo Maker
For a more hands-on approach, Ucraft's Logo Maker gives you just enough tools to create your own logo from scratch in short order. It's basically a bare-bones vector editor that gives you a big selection of icons to play with and supplement with text, shapes, and colour until you achieve the look you're after. You can download your finished logo as a PNG for free; if you'd prefer a scalable SVG you can have it for just $12.03. LogoMakr
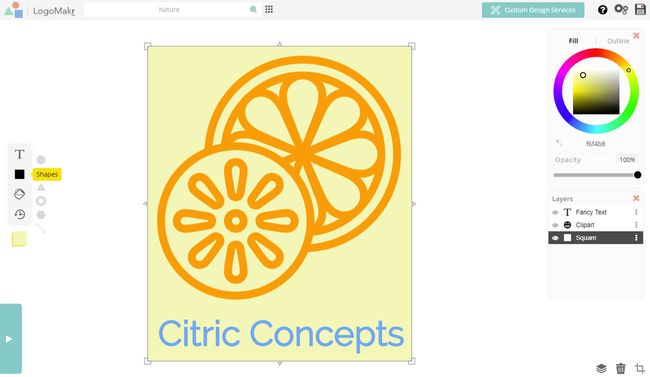
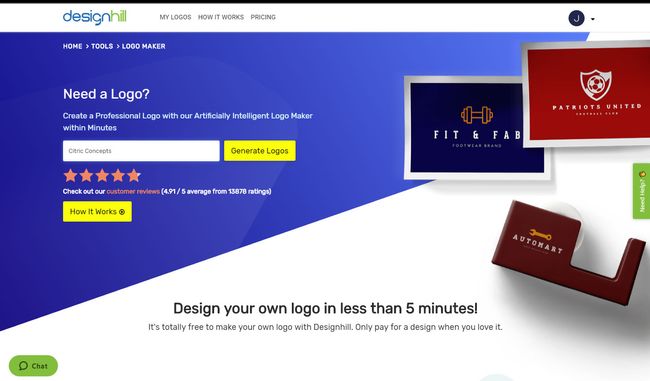
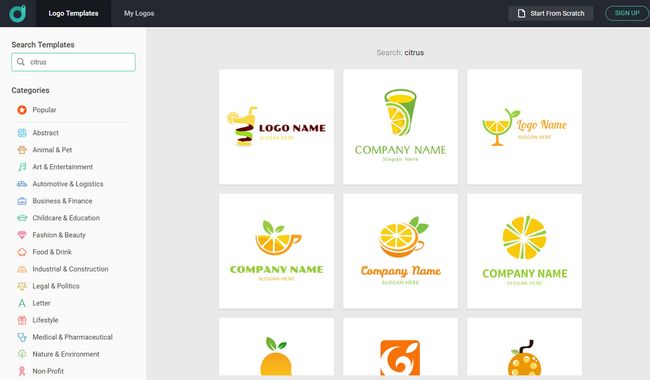
A slightly more sophisticated option comes in the form of LogoMakr. It offers the same basic tools as Ucraft, but with a friendlier front end and a few more options and fonts to play with; the only thing we'd like to see is the option to use gradients as well as flat fills. Again it's a matter of finding a suitable icon and bringing in all the text and shape elements you need to build your logo design; once you're done you can download a free PNG version, or for $19 you can get it in SVG and PDF flavors.04. Designhill Logo Maker
05. DesignEvo Free Logo Maker
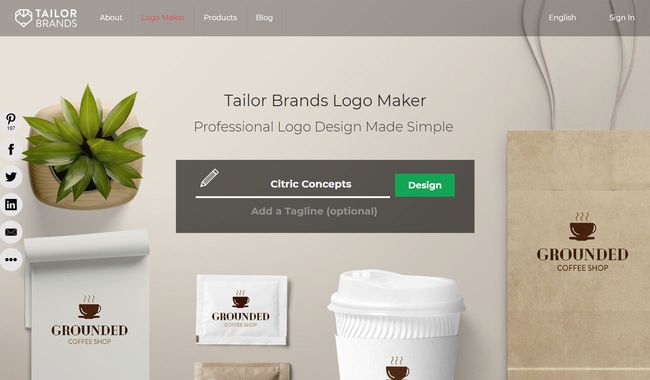
06. Tailor Brands Logo Maker
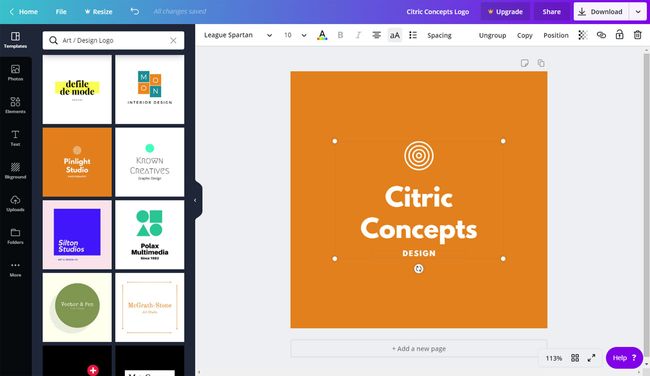
07. Canva Logo Maker
08. MarkMaker
The new Firefox logos have officially arrived
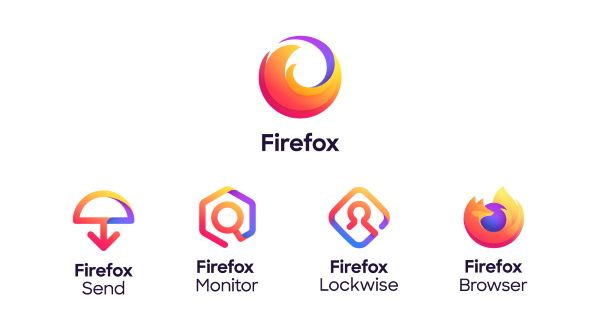
This design appears in the new branding system (below) as the logo for the Firefox browser. Alongside this logo are three line-based graphics for other services including Send, Monitor, and Lockwise. The whole system comes under a general Firefox logo umbrella, which relies on the motif of a circular, swooshing fox tail.
Having run two design systems by audiences, they concluded that "we got a very clear signal that we didn't actually have to show a fox for people to know that it was Firefox".
In a blog post announcing the designs, Mozilla also says that the new brand "is about more than logos". To be specific, it's based on four key word pillars, namely 'Radical', 'Kind', 'Open' and 'Opinionated'.
This also ties into Mozilla's aim to create a design system that has what it takes to last long into the future. Included in this system is a new and expanded color palette that makes it possible to use gradients. A modern and rounded typeface that reflects the logos completes the rebrand.
And seeing as all of these elements were developed with an emphasis on accessibility standards in mind, it looks like the new Firefox is set to deliver user-friendly products. The brand's focus on privacy only sweetens the deal.
Notable designers have been linked to the development of these logos. Michael Johnson provided early inspiration, while the designer of the original Firefox logo, Jon Hicks, was on hand to give advice. Meanwhile, Ramotion's Michael Chu has been credited as a driving force behind the new brand.
Mozilla also adds that we can expect more from the rebrand: "We have to stretch our brand guidelines even further in the months ahead, so we’re interested in hearing your reaction to what we’ve done so far."


