Get to grips with mobile app on boarding

In recent times, the worldwide market has seen a dramatic increase in mobile app usage, and with it a big increase in revenue figures. However, with such a competitive market full of apps, it can be hard to keep users' attention, and avoid being deleted.

This is even more difficult if your app is paid-for, as there are often a lot of free alternatives users can opt for – for example, these free iPhone app for designers. Because of this, mobile app developers need to work to provide a great user experience and make the introduction process to an smoother if they have a hope of people sticking with their app.

This is where user onboarding comes into picture. Providers of mobile app development services (such as Oxagile, where I work) typically recommend one of the following common types of onboarding:
  • Benefits-oriented
  • Function-oriented
  • Progressive

In this article, we'll look into each technique to see how to effectively employ it. Use the drop-down above to navigate to each different type of mobile onboarding.

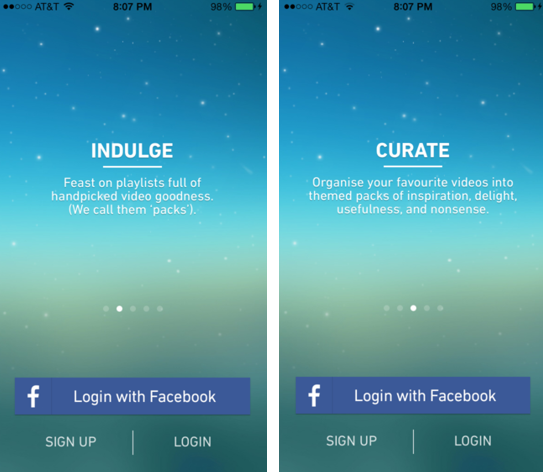
Benefits-oriented onboarding

You can use this method of onboarding to introduce the main benefits of a product, show users what perks they can expect and explain how those perks can be used in daily life. When applying benefits-oriented onboarding, there are some steps to follow. I'll run though them now.

01. Show one perk per screen


No matter what number of benefits you decide to unveil, it’s paramount you stick to the 'one benefit per screen' rule. This way you won’t clutter your screen with too much information and will draw users’ attention to key points.

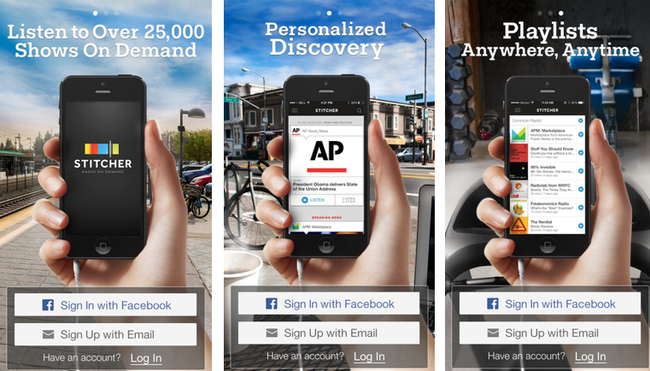
02. Don’t limit yourself to just three benefits

Without doubt, three is a magic number, but sometimes it may be useful to introduce more than three benefits. Just don't go overboard – when trying to show the app in its glory, you don’t want to bore users with too much information.

03. Be concise


Use appropriate vocabulary while introducing your app. Remember that one of the best ways to capture attention is to use verbs – here 'book', 'manage', 'check' and 'rate' give a strong call to action related to the app's key uses. Moreover, avoid lengthy descriptions – save them for app stores.

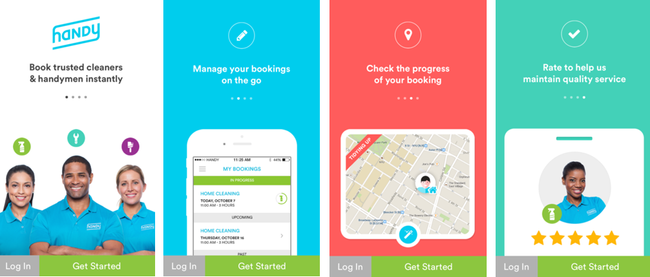
04. Save signup for later


Onboarding represents an overview of your app. Going through this overview, the user should understand whether it's worth signing up. That’s why it is logical to put onboarding first and save users from being interrupted by benefits when they have already started exploring the app. However, to please those who want to skip some screens and get started right now, it's worth placing the signup option on each screen.
Share:

No comments:

Post a Comment

Popular Post

Web Design

5 Quick-fire portfolio tips from design experts

Your design portfolio is one of your most useful tools. It can win you commissions, help you snag a new design job, attract collaborators, a...

Labels

Most view post