I create all my work in Adobe Illustrator CC. Getting to grips with the software can be tricky, but there are a lot of brilliant Illustrator tutorials around to help hone your skills.
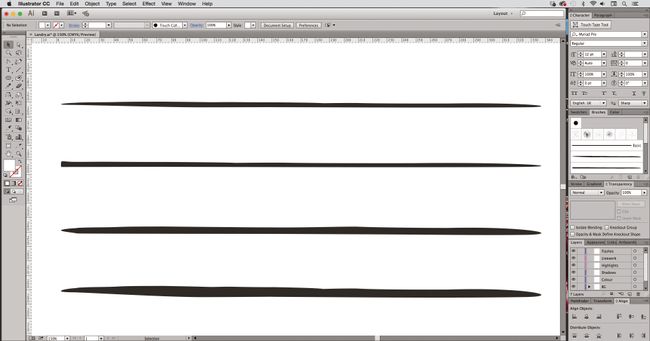
01. Start with weighted lines
Then, bring your linework into Illustrator and create outlines from the strokes by selecting them, and navigating to Object > Path > Outline Stroke.
02. Refine your lines
Once you have your brush stokes outlined, use the Pen tool or Anchor Point tools to refine any part of the line to get it just how you want it.
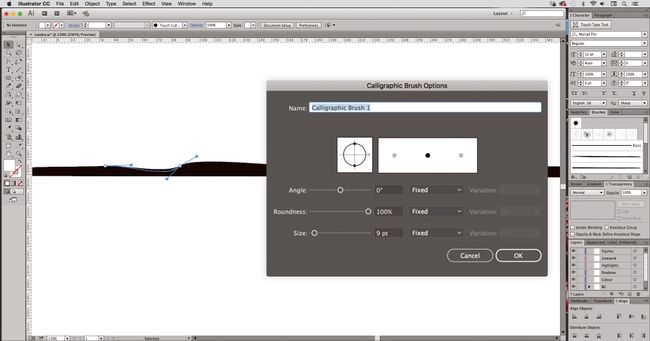
Next, create a new Calligraphic brush by selecting the shape you want to make into a brush. Open the Brush panel (Windows > Brush), click Create New Brush and select Calligraphic brush.
Next, create a new Calligraphic brush by selecting the shape you want to make into a brush. Open the Brush panel (Windows > Brush), click Create New Brush and select Calligraphic brush.
03. Create a brush library
Then, in the Brushes panel, click Save Brush Library, and put the new library file in one of the following folders so that it will appear in the Brush Libraries menu when you restart Illustrator.
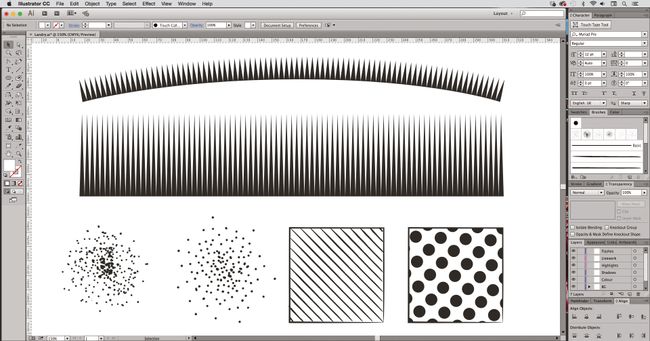
You can also use this technique to create Pen brush strokes, as well as shading effects such as stippling or half-tone effects – and you can create ‘fills’ as well as ‘strokes’.


No comments:
Post a Comment