

However, without a solid UX design process in place, a design team could be working completely in the dark. A clear and concise UX process, on the other hand, makes it possible to craft amazing and less problematic experiences for the user.
Generate CSS is a bespoke conference for web designers: Grab an early bird ticket now
01. Define your problems
Define the problem(s) first! You need to understand clearly what you’re trying to solve: ask your clients if you are working in an agency and ask business stakeholders or the product manager if you are in a product team. UX design is a problem-solving discipline and helps the end-users to achieve their goals with ease. So discovering if your product idea will fulfill these needs is your first step.02. Gather data from real users
Surveys enable you to get a decent amount of data from real users. By using clever questions, you can discover more about who they are, where they are and what their needs and goals are. You can use many available tools to carry out surveys, such as SurveyMonkey and Google Forms.03. Analyze your competitors
By looking at who your competitors are, you can get a much better feel of how you can create something more unusual. However, this shouldn’t be a long process, as all you’re doing is seeing how viable your product idea is and whether or not it has a place within the market.04. Create personas
With the data you have from the user surveys and analysis of your competitors, you can now create personas. Personas are not the customers you want but the customers that actually exist, whether they’re the ones you already have or potential customers in the market. Even though these personas are fictional, they should represent real people’s behaviors, motivations, goals, and needs. Although the effectiveness of creating personas has been hotly debated of late, it is a very good way to remind yourself that you’re not the user.05. Define user flows
With the information we now have within our personas, we can begin to map out the flow our users would take. This is a user flow – the path taken by a prototypical user on a website or app to complete a task. The user flow takes them from their entry point, through a set of steps towards a successful outcome and final action, such as purchasing a product. In most cases, user flow is a visual chart that shows each screen a user will or could find themselves at. Even though this is a great way for designers to visualize and work with the site, it can also help developers see and understand the typical user journey.06. Brainstorm!
Brainstorming is a combination of informal problem solving and lateral thinking. It’s a great way to generate ideas that you would not be able to come up with by sitting down with just a pen and paper. However, this will be the hardest step to follow as a solo designer because, in most cases, this is done within a group. So here are some steps you can follow to make your solo brainstorming a success.Firstly, break out of solitude, get outside and look around as small scenes can lead to big ideas. If you’re working for a company, go and ask questions of the developers, project managers, receptionist – even the boss! Getting fresh perspectives can spark all kinds of ideas. Now using sticky notes or a blank sheet of paper, spend 15-30 minutes writing down as many ideas as you can. Don’t judge them; just keep writing down what you’re thinking.
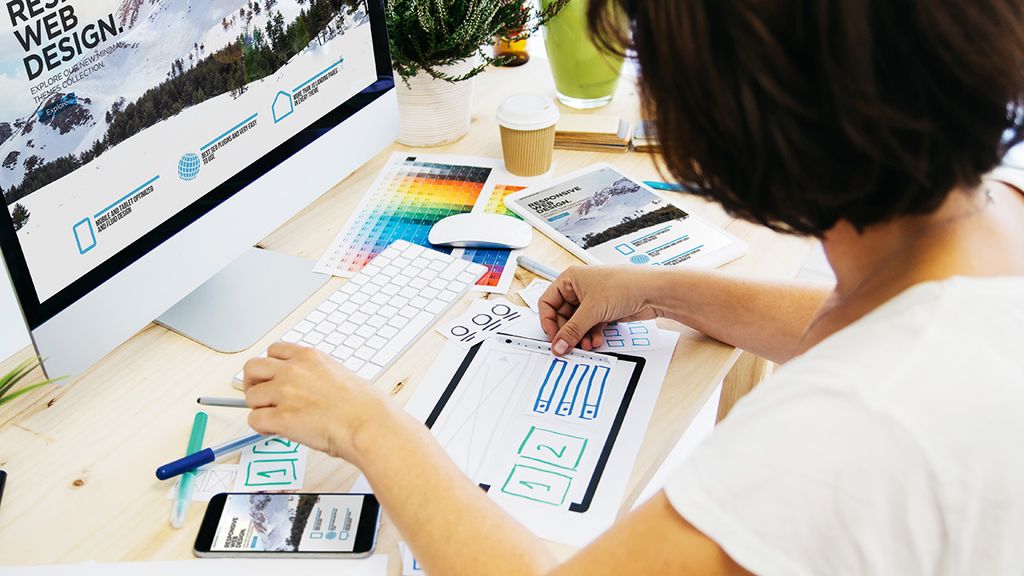
07. Create paper wireframes
By now you should have a decent number of ideas, either on sticky notes stuck to a wall or scribbled on paper. Now it’s time to get even more creative and start sketching out those ideas on paper – sometimes referred to as paper wireframes.Sketching things out is a very efficient way of trying out a multitude of ideas and iterating them before settling on the best one. Using a pencil first, we can draw a lot of basic sketches to look at the problem from many angles and consider different solutions. Once you’ve settled on the solution, you can now go over your sketches with a pen and then rub out the pencil.
To make things clearer, make sure you add annotations and notes where possible. Once you’ve done a few sketches, go and have a break and come back to your sketches a while later. Take a look at them and see if they still make sense.
08. Develop the wireframes
Low-fidelity wireframes include the most basic content and visuals and are usually static (non-interactive). They are often used to help map out the shell of the interface, its screens, and basic information architecture.There are many wireframe tools available nowadays, including Figma, Sketch and even Photoshop. Whatever tool you use, your low-fidelity wireframes usually serve as a checkpoint for the beginning of the design process for stakeholders and product teams and you should be able to present clear solutions to them.
09. Build a basic prototype
At this point you have all these nice wireframes designed with your favorite design tool, so now what? Well if you’re using a tool such as Figma, Sketch or InVision Studio, then it’ll be nice and easy to create a low-fidelity prototype.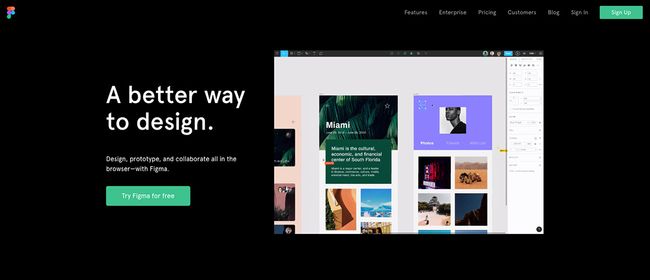
The prototype is a simple and easy translation of the product and design concepts. It’s used to turn the design ideas into testable and tangible artifacts, collecting and analyzing the user demands at this early stage, refining your product as you go.


No comments:
Post a Comment