


01. Plan the layout

Make sure the text you receive is supplied without hard formatting, otherwise you might spend a lot of time stripping out italics, bold and so on – over-formatted text distracts readers. Now open InDesign and go to 'File > New Document'.
02. Set properties
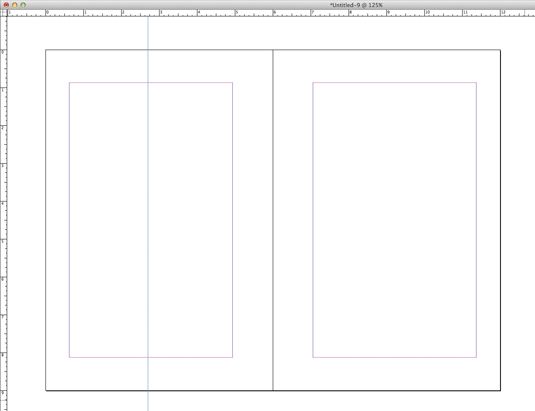
We're working in inches – ctrl+right-click on the ruler to change the units you work in. Deselect the lock icon in your margin settings so you can set each – top, bottom, inside and outside – individually.
03. Drag guides
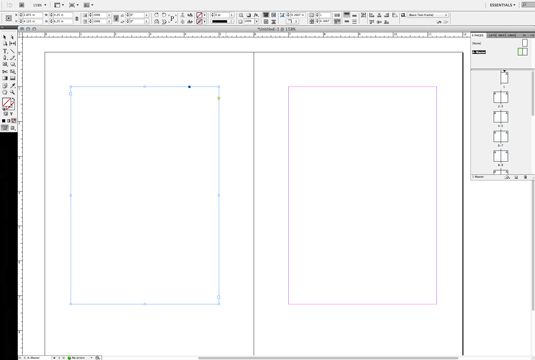
04. Create text boxes
Once you access your master page, you can create text boxes to fit your margins as well as set up any page elements like page numbers and folio items. Whatever you do on your master pages will be applied throughout the rest of the document.Create two text boxes using your Type tool and position them within your margins.
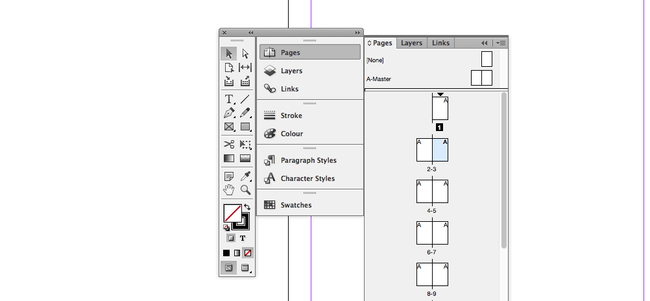
05. Link pages
With this text flow cursor icon, click on the right-hand text box and see the cursor change to a link cursor icon. This enables your document pages to link from page to page as you flow your text in.
06. Page numbers
You can automate page numbering by making a text box and typing in a number wherever you want page numbers to appear in your layout. Select the number you typed, ctrl/right-click on it, and from the pop-up menu that appears select 'Insert special characters > Markers > Current page numbers'.You will see the number change to the letter A. This signifies that your page numbers are now applied to all your pages.
07. Populate opening pages
Create these and a table of contents before flowing in the main body copy. To remove master items from a page, cmd/ctrl+shift+click on an item and it will be broken out of the master, then hit Delete.
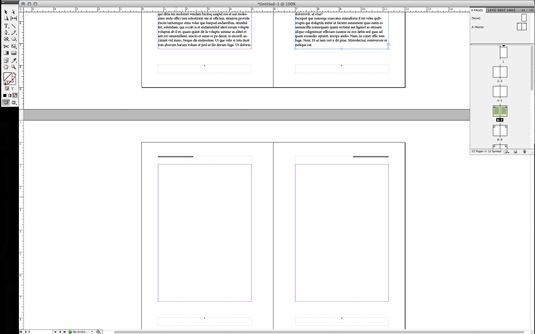
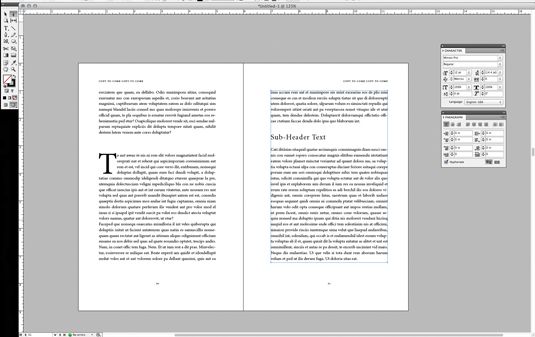
08. Flow in text
Now flow in the text. cmd/ctrl+Shift+click on the first text box and then press cmd/ctrl+D and select the text file on your hard disk. Your text will flow into the first spread.Select the second text box and click on the small box at the lower right corner. Hold Shift and it turns into an Auto-flow cursor icon. Click in the first text box on the next spread, and flow it in to the end of the document.
09. Adjust font
Your text should have few hyphens and have an over all 'greyness' to it when viewed with a squinted eye. Good fonts are designed to have ideal kerning pairs but make sure headers, sub-headers, section breaks and drop caps get extra attention for a breathable hierarchy.
10. Tidy up
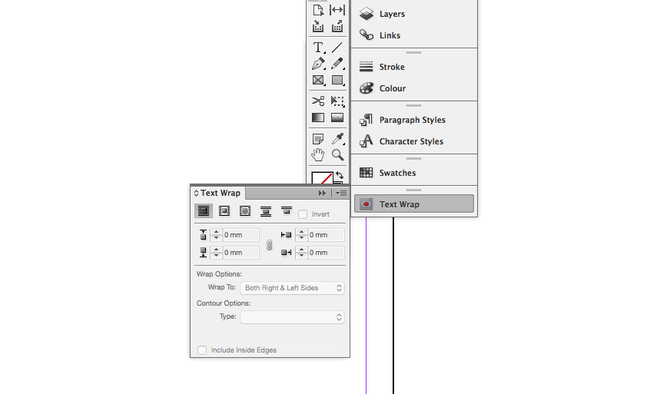
Using the Text Wrap panel, set a 'runaround' so that text can flow around the images. Once done, export your book for press by packaging your document, saving it as a PDF for print, or ebook or e-pub formats.


vstpatch.net
ReplyDeleteAdobe InDesign Crack
Teracopy Pro Crack
Bluetooth Battery Monitor Crack
Dashlane Crack Crack
Soundtoys Crack
Wow, amazing block structure! How long
Have you written a blog before? Working on a blog seems easy.
The overview of your website is pretty good, not to mention what it does.
In the content!